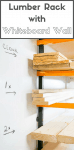

Keep your lumber rack organized and labeled with a whiteboard wall! This paneling lets you write directly on the wall to identify dimensions and species at a glance.


My workshop is in our former garage in the basement. The wood-lined walls, low ceilings and minimal natural light leave it feeling cramped, and the clutter makes it even worse!
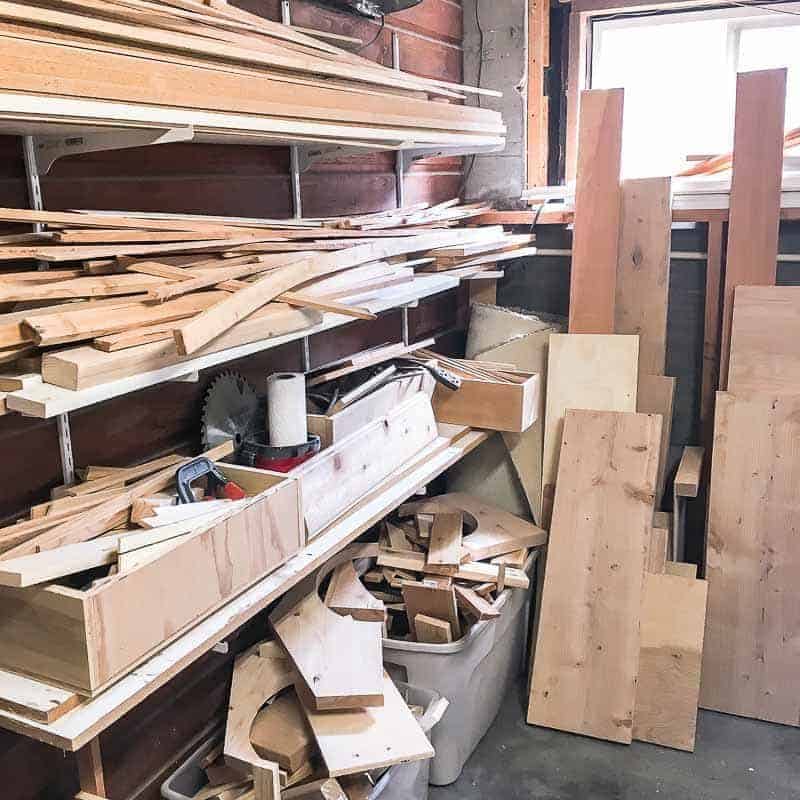

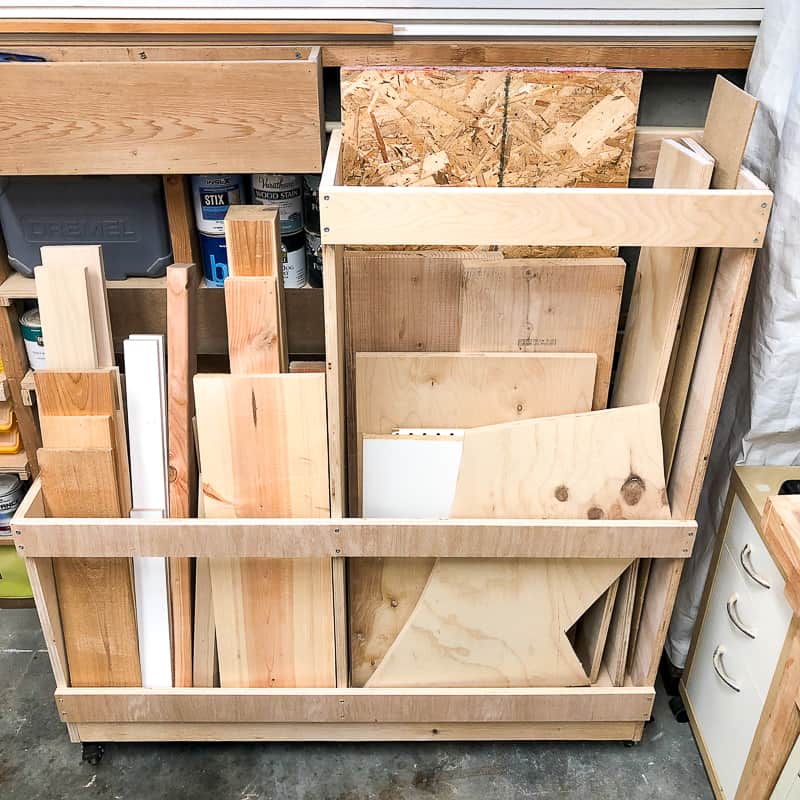
This lumber rack was left by the previous owner, and probably wasn't meant to hold this much weight. I had stacked it so full, it was hard to pull out one board without causing an avalanche!
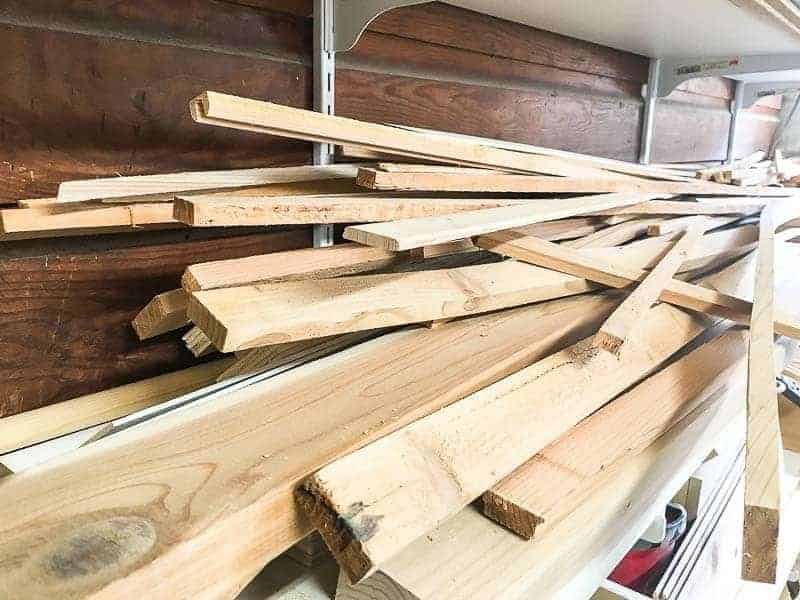

Today, I'm giving my lumber rack an upgrade! No more digging through piles and dodging falling 2x4's to find the piece I need!
I wanted to brighten up the workshop and create a more organized system for storing scrap wood. This lumber rack with a whiteboard wall behind it solves both those problems!
This post contains affiliate links for your convenience. Purchases made through these links may earn me a small commission at no additional cost to you. Please visit my disclosures page for more information.
Materials Needed
- Portamate lumber rack
- 2 Knape and Vogt standards
- 6 Knape and Vogt 12" shelf brackets
- 3" screws
- 1" flat head screws
- White panel board
- I had three panels cut to size at the store to cover the entire wall, but you could just use one mounted next to the lumber rack.
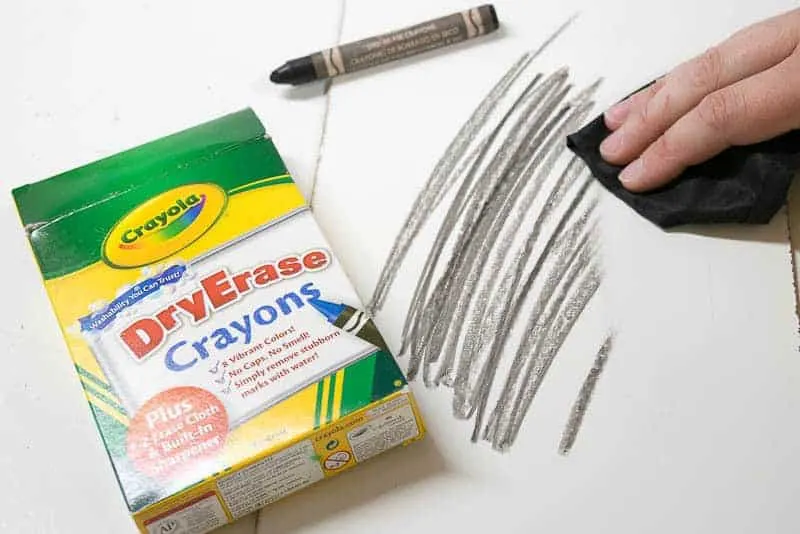
- Crayola dry erase crayons
- These work better than markers on the panel board and won't accidentally wipe off!
- White duct tape (optional)
- Jigsaw
- Drill
How to install a whiteboard wall
Clear the space
Start by clearing everything off the wall. I stacked all my lumber off to one side of the workshop and got rid of a lot of random scraps. Then I removed the shelf standards and pegboard. All I was left with was a dark wood wall.
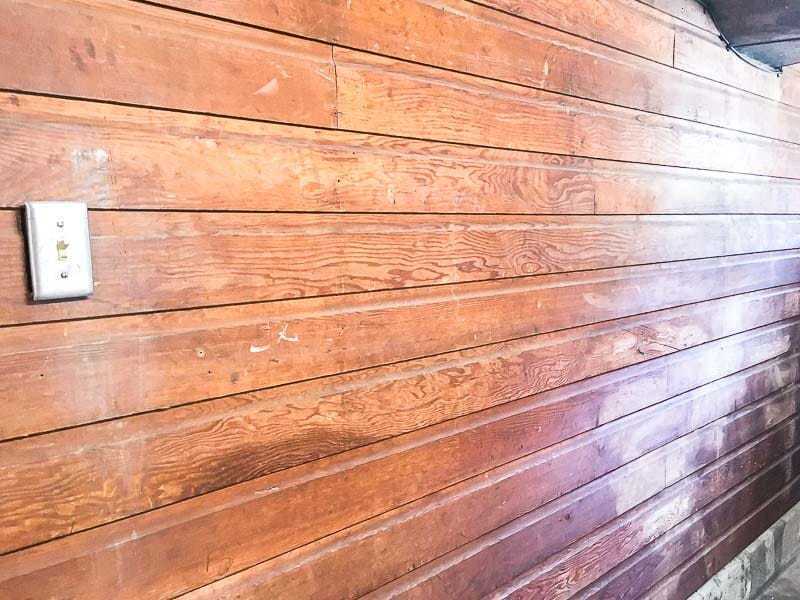
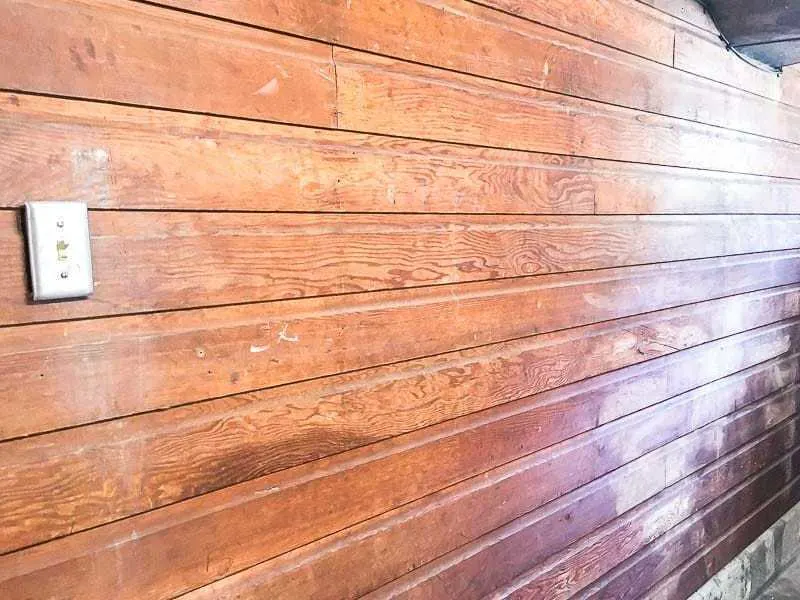
I had originally planned to just paint this wall white. But after painting the wood paneling in another section of the workshop, I decided it would take too long and use too much paint to be worth the effort.
Cut and install the whiteboard paneling
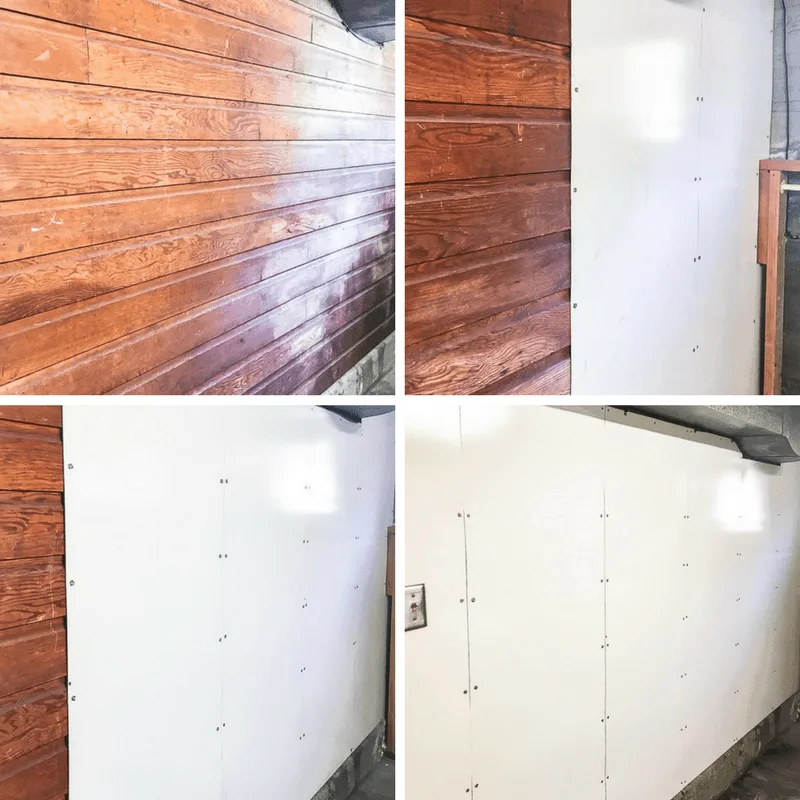
This white panel board is really inexpensive and can cover a large area quickly. I had three sheets cut into 2 foot wide strips at the store so I could get it into my car. The narrower pieces were also easier to hang by myself!
Attach each panel to the wall with 1" screws. You could also use Liquid Nails if you don't want to use nails or screws to hang the whiteboard panels.
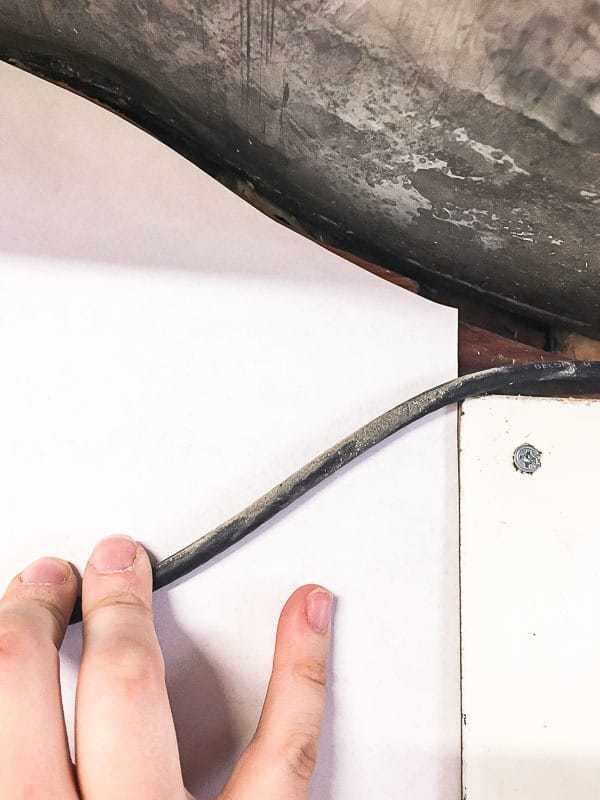
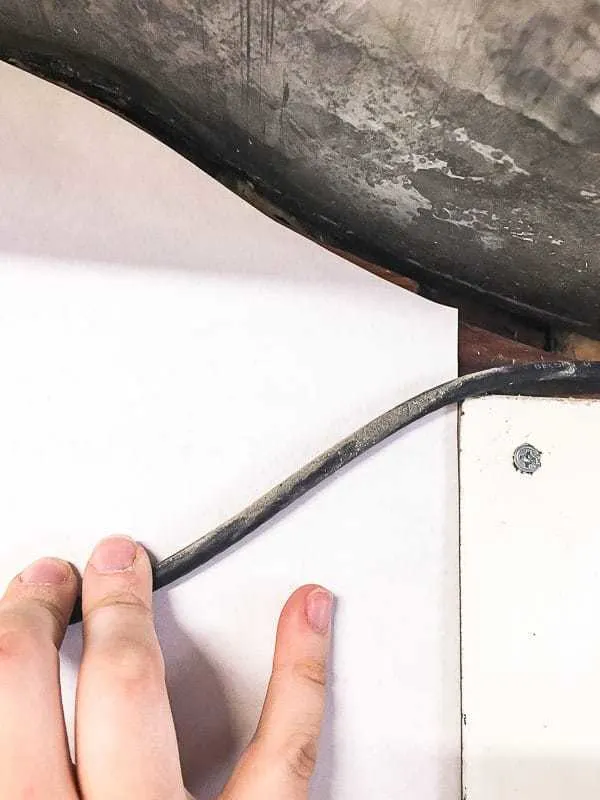
Cut around any obstructions, like I did with this heating duct. Make a template out of paper, trace it onto the panel board, and cut it out with a jigsaw. I tucked the cable cord behind the panels to keep it out of sight.
My workshop gradually transformed from dark and dreary to bright and airy as each panel went up!

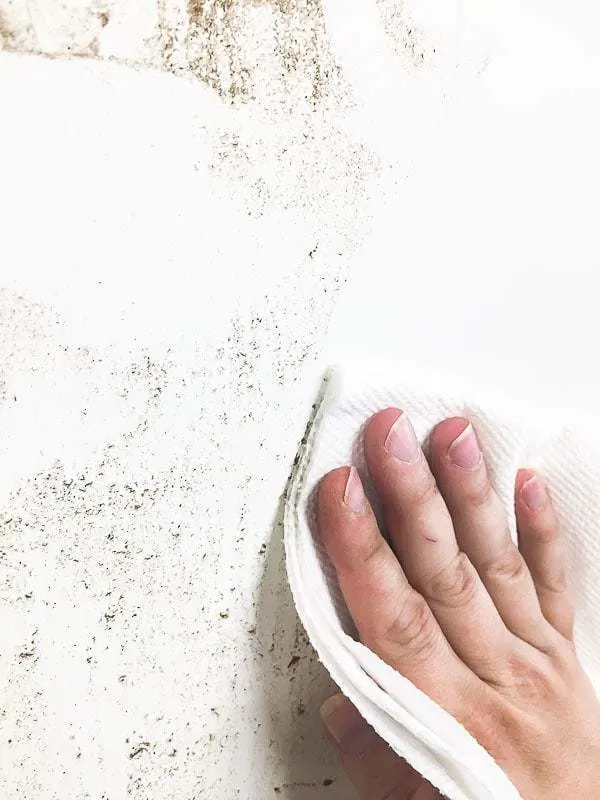
I gave it a good wipe down with Windex to remove the dust from cutting the panel board (it makes a mess!) I've heard that waxing the surface will make it last longer, but I'm not too concerned about it looking pristine. But I did cover up the seams and screws with white duct tape for a cleaner look.

How to install a lumber rack
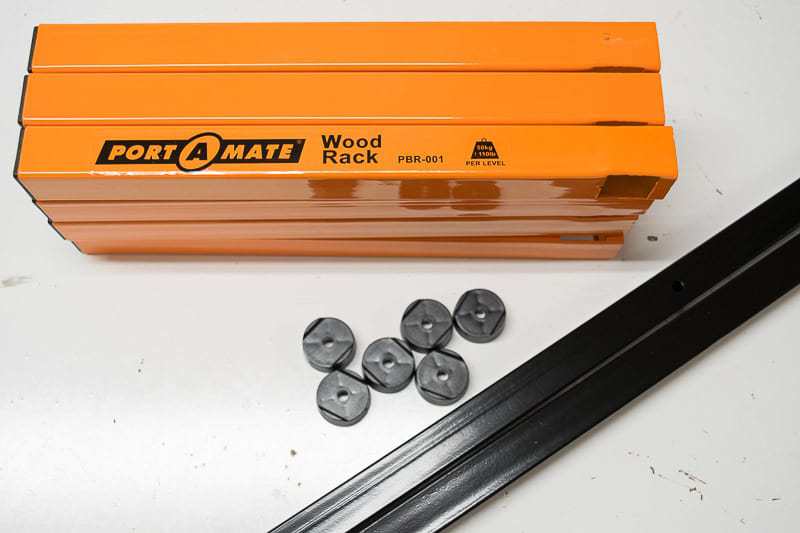
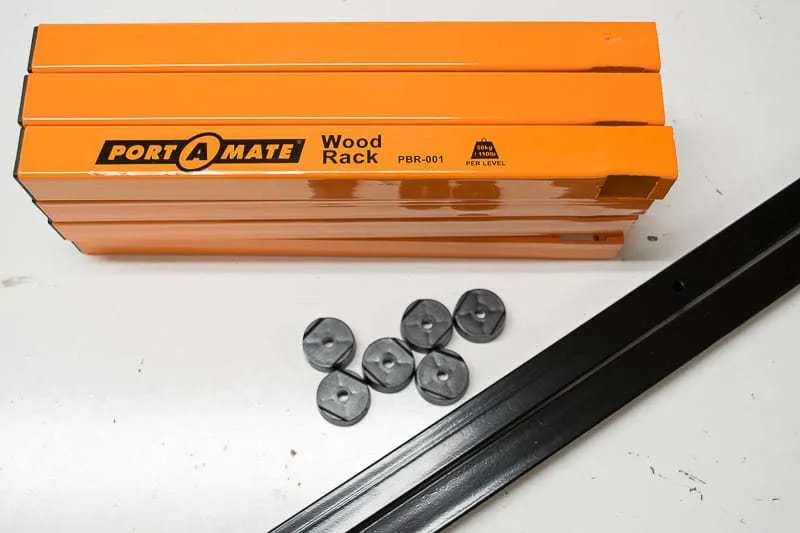
After admiring my clean, white wall for a while, it was time to install my new lumber rack. I snagged this Portamate lumber rack on Amazon Prime Day for a great discount! It's really simple to install, and super sturdy.
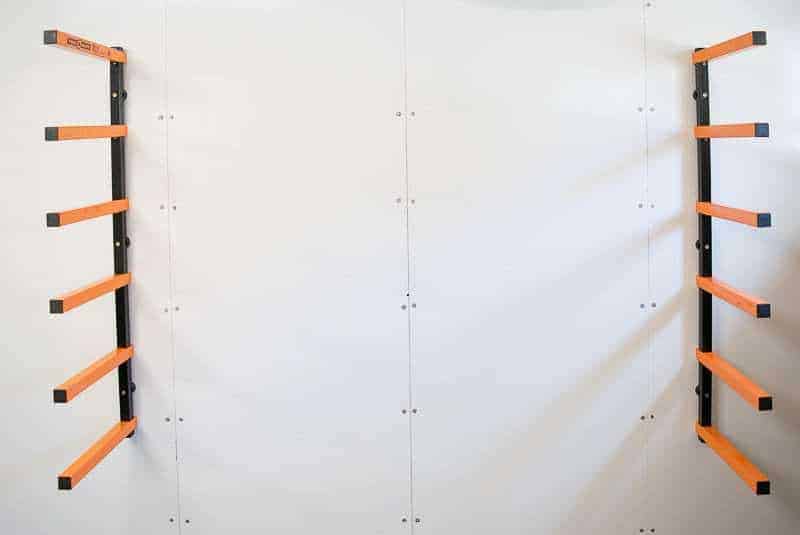
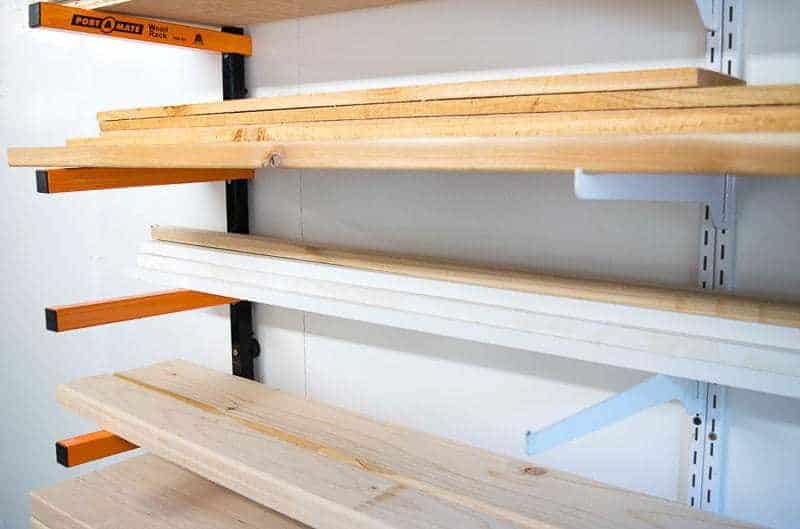
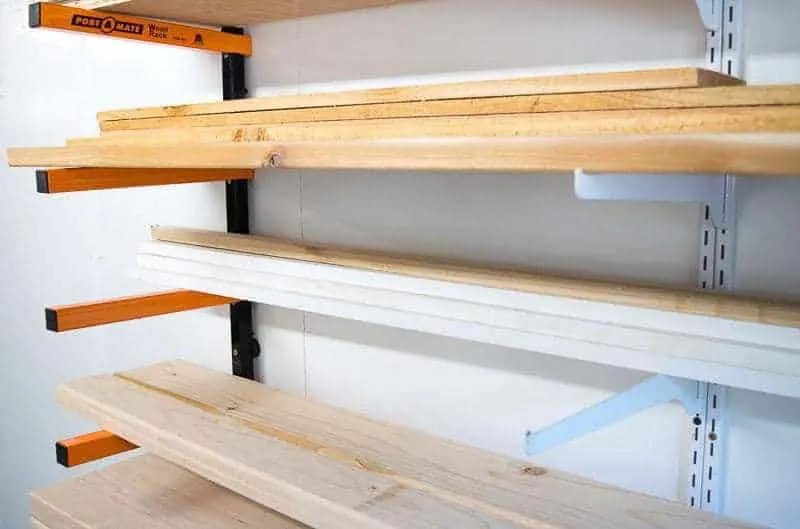
I installed the lumber rack brackets five feet apart, but you can go anywhere between four and six feet. I love how the orange arms pop against the whiteboard wall!

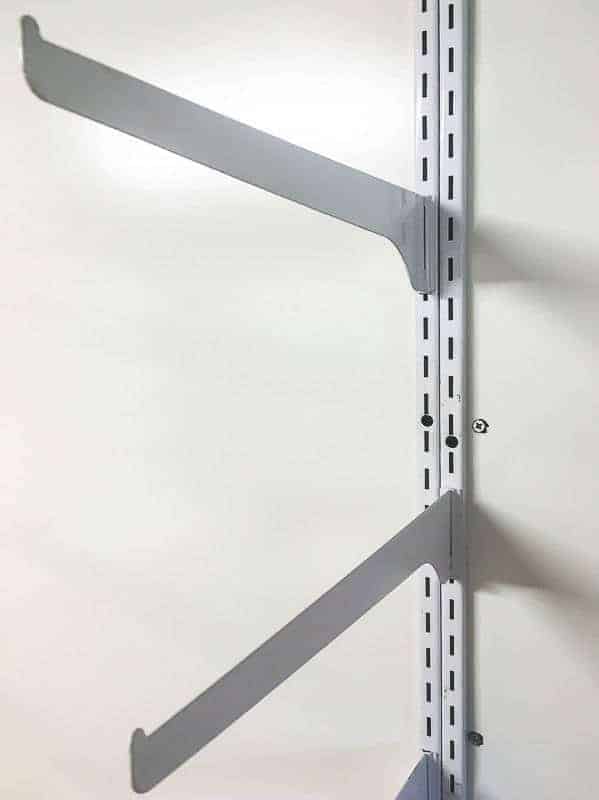
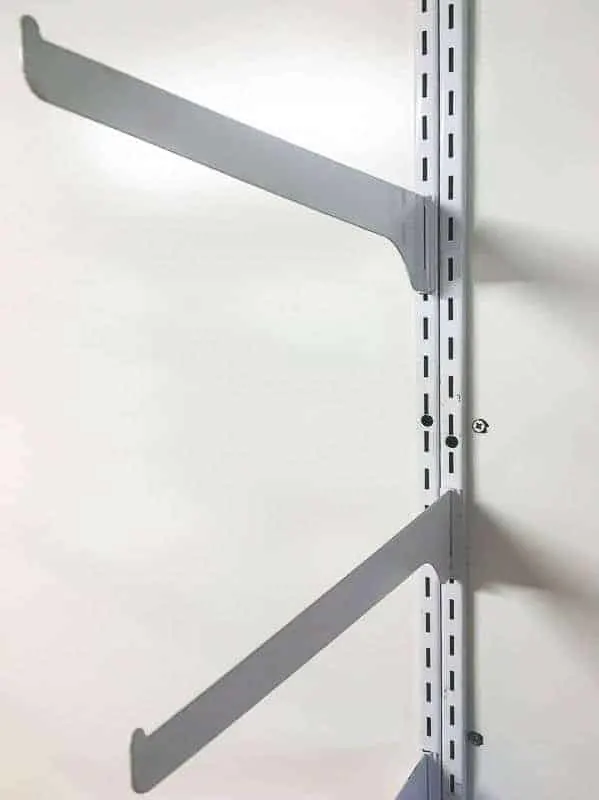
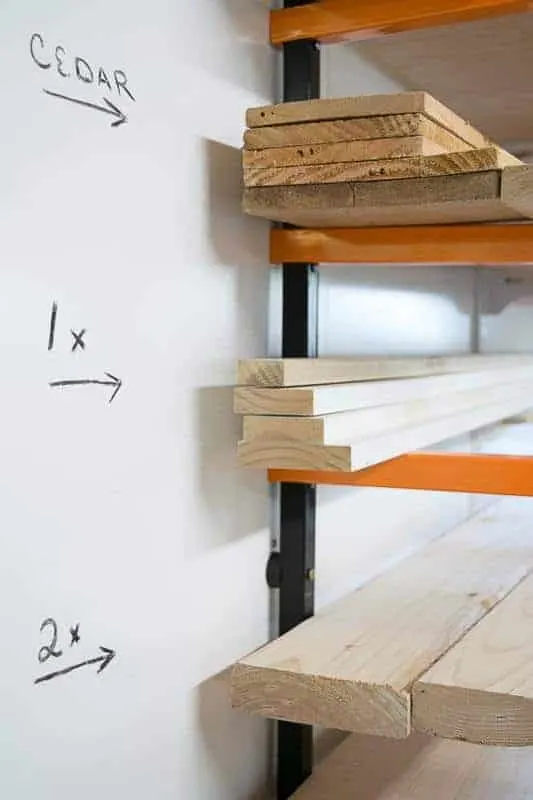
To support those smaller scrap pieces, I added two of the adjustable wall shelf standards and brackets I removed earlier. The holes of one standard didn't line up perfectly with all the lumber rack arms, so I added a second one next to it and staggered the holes.
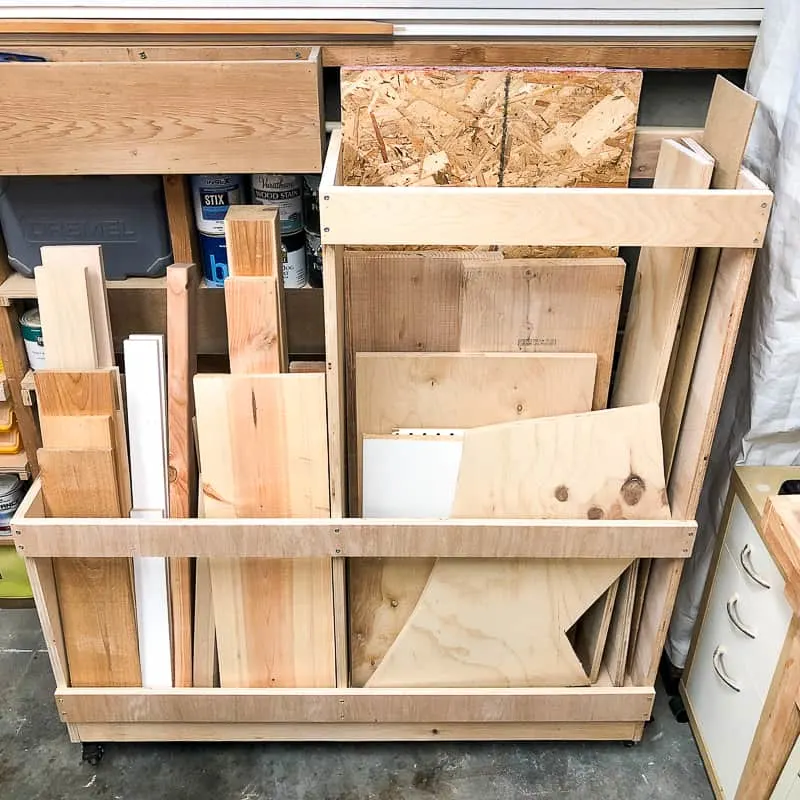
Sort through your lumber and group like pieces together. Then load each type onto its own slot on the lumber rack!
Label each shelf
Now here's the best part about that whiteboard wall . . . you can write on it! I tried a few different types of dry erase markers, but found that Crayola dry erase crayons are the easiest to remove when you want to, but don't accidentally wipe off if you brush against it. This whiteboard wall would be perfect for a kids playroom too!

Next to each pile of wood, mark the dimension or species. It's easy to erase and change as you use up your scraps! Here's how I broke down mine:

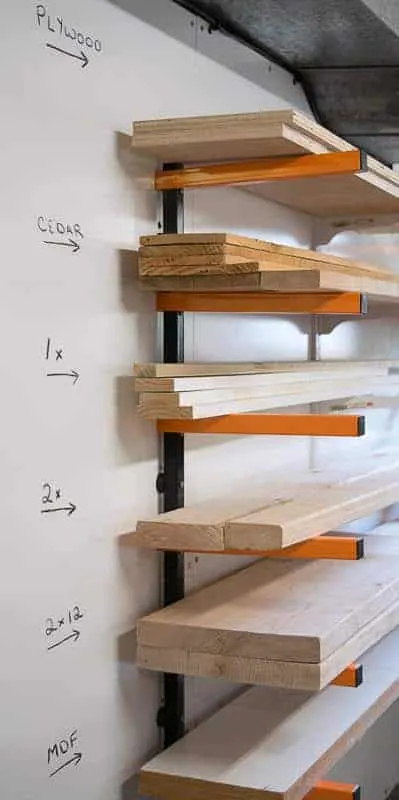
There's still plenty of room left on the wall to draw plans, or write down cut lists. No more hunting for that piece of paper hiding somewhere in the workshop! I can glance up to see which piece to cut next, and cross them off as I go.


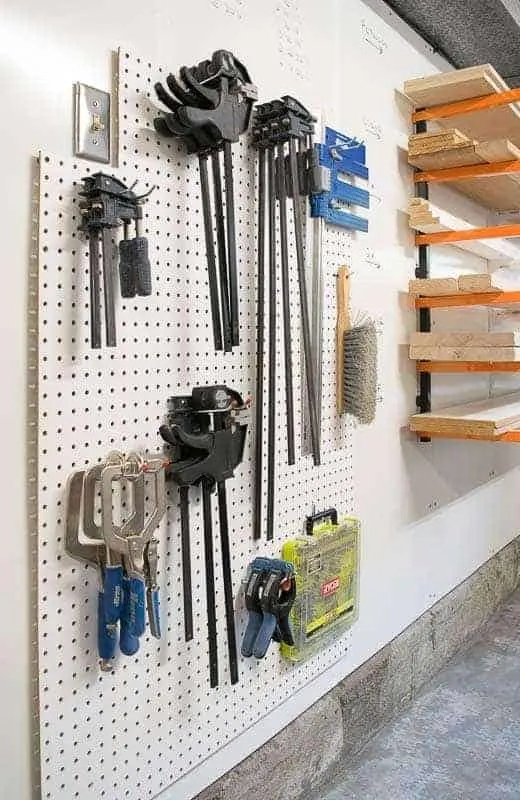
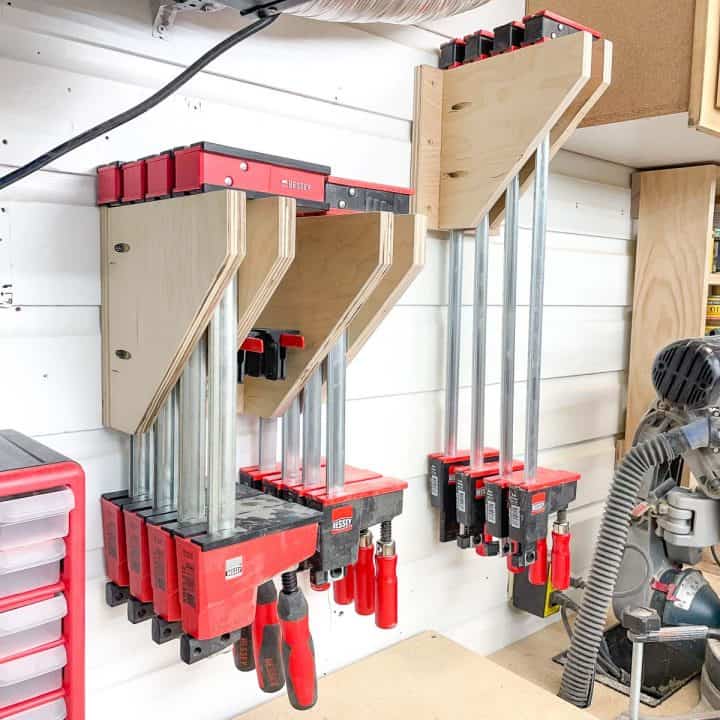
The pegboard went back up on the wall, and I took the time to organize it properly this time. Frequently used items like clamps and a bench brush now have a home here. Everything else is on another pegboard on the other side of shop.

Changing up this wall was like a breath of fresh air for my workshop! Now I feel so much more productive, and can't wait to tackle my next project!


April R - Uncookie Cutter
Thursday 24th of August 2017
This is amazing!! I'm copying you...
Vineta
Thursday 24th of August 2017
Copy away! I really love being able to write on the walls!
Ashley | Handmade with Ashley
Friday 4th of August 2017
I love what you did with the space! I'm especially loving that white board wall. :)
Toni
Thursday 3rd of August 2017
What a great idea! Our garage is old and ugly and even installing this board over the studs would be instantly bright and wouldn't need to be painted. I love that you can label all your boards. Plus that wood storage system is fantastic! If only I had a free wall in the garage to install it I'd totally get one.